(DESCRIPTION)
[00:00:00.00] Nate, a young man in long-sleeved, lightweight clothes and a baseball cap, sits in a folding chair in the forest near a tent and campfire.
(SPEECH)
[00:00:00.32] Hi, campers and camping curious. I'm Nate. And today, we're going to learn how to start three different types of campfires and when you might want to use them. We've shown you the basics for starting a campfire in our How to Build a Campfire Safely video, which you can watch here.
(DESCRIPTION)
[00:00:14.89] A video of the campfire appears in the upper left.
(SPEECH)
[00:00:15.17] But now, we're going to turn up the heat.
[00:00:18.41] [MUSIC PLAYING]
(DESCRIPTION)
[00:00:18.72] Text, L.L. Bean. 3 types of campfires and how to build them. An animated car with a canoe on top drives up to a tent in the forest.
(SPEECH)
[00:00:22.15] The three classic campfires we'll be building are the log cabin fire, the upside down fire, and the lean-to fire. Whichever one you're building, be sure to check fire regulations. And start with a clean fire ring that's not near any equipment or debris. Most importantly, keep enough water nearby to put the fire out if you need to.
(DESCRIPTION)
[00:00:40.35] Text, The Log Cabin Fire. Great for a long-lasting low maintenance fire.
(SPEECH)
[00:00:40.63] The log cabin fire is easy to build, burns for a long time, and doesn't need much TLC to keep going strong.
(DESCRIPTION)
[00:00:46.92] Nate proceeds by placing tinder in the center of a ring of large stones. Text, Place tinder, place log cabin base.
(SPEECH)
[00:00:46.93] Start by placing a small pile of tinder in the center of your fire pit. Then place fuel logs parallel on either side of your tinder.
[00:00:55.06] Place two more logs crosswise to create a square.
(DESCRIPTION)
[00:00:58.08] Nate stacks two logs across and on top of the first two on the ground.
(SPEECH)
[00:00:58.45] Add a couple more layers of small pieces of wood and kindling. It will look like a log cabin.
(DESCRIPTION)
[00:01:03.10] He continues building up the square structure of logs.
(SPEECH)
[00:01:03.31] Finally, create a cone of small kindling over your tinder. And use some of your thinnest pieces of tinder to make a roof. Leave lots of space, so the fire gets plenty of oxygen.
(DESCRIPTION)
[00:01:13.42] Nate builds a tent shape of twigs around his tinder and then places some sticks across the top of the logs. He uses a match to light the tinder.
(SPEECH)
[00:01:13.72] Light your tinder.
[00:01:15.07] You may need to blow lightly on the flame to feed it oxygen and get it burning hot. The
(DESCRIPTION)
[00:01:19.84] The flames from the tinder catch the kindling and logs ablaze.
(SPEECH)
[00:01:20.05] tinder will light the kindling. And the kindling will then light the bigger logs. Once the flames set the kindling cone and roof ablaze, your fire will have a nice hot core. Add kindling as needed to keep it burning bright, working your way up two pieces of fuelwood.
(DESCRIPTION)
[00:01:35.03] Text, The Upside-Down Fire. Great for cooking.
(SPEECH)
[00:01:35.36] The upside down fire gets its name from the fact that you start it from the top, not the bottom. It burns down instead of up, creating a really hot core and a relatively flat surface. Great for even cooking.
(DESCRIPTION)
[00:01:46.99] Nate places 4 logs on the ground in the fire ring side by side, then sprinkles tinder on them.
(SPEECH)
[00:01:47.27] Start by laying three or four of your biggest logs tightly together in the middle of the fire ring. Add a small amount of tinder to fill the gaps between the logs. Then build a second layer perpendicular to the first using slightly smaller logs. Again, add some tinder to the gaps.
(DESCRIPTION)
[00:02:03.95] Nate continues building log and tinder layers.
(SPEECH)
[00:02:04.25] Next, you guessed it, add another layer perpendicular again. You could keep going for a longer burning fire. But three or four layers should give you plenty of fuel and provide you with a large enough platform to cook on.
[00:02:18.05] Add a small pile of tinder and kindling to the top layer. Altogether, it'll look kind of like a pyramid. This is why this is also sometimes called a pyramid fire.
[00:02:27.38] Light
(DESCRIPTION)
[00:02:27.38] He lights the tinder on top with a match and leans down to blow on the flames.
(SPEECH)
[00:02:27.86] your tinder. You may need to blow lightly on the flame to feed it oxygen and get it burning hot. The tinder will light the kindling. And the kindling will then get hot enough to burn down into your fuel logs.
[00:02:38.18] A great thing about the upside down fire is that your fuel logs are already placed. The fire will burn for a long time before you need to add any fuel. If you want to keep the fire going after the core has burned down in the middle, simply add logs directly to the center of the fire.
(DESCRIPTION)
[00:02:53.18] Text, Add fuel as needed. The Lean-To Fire. Great for windy conditions.
(SPEECH)
[00:02:53.90] The lean-to fire looks a little like a log cabin or upside down fire on its side. Leaning the tinder and kindling on a larger fuel log creates a windbreak, so you can get your fire burning before a breeze has a chance to blow it out. It's also really simple and fast to build.
(DESCRIPTION)
[00:03:09.17] Nate lays two large fuel logs in the fire.
(SPEECH)
[00:03:09.47] Start by laying your biggest fuel log in the fire ring. This is your windbreak. So you'll be building your fire on the leeward side. That means away from the wind.
[00:03:18.05] On
(DESCRIPTION)
[00:03:18.05] He lays tinder in the sheltered area.
(SPEECH)
[00:03:18.35] the sheltered side of the log, lay a pile of tinder. This should be easy to reach with a match since it's where your fire will start. Lean pieces of kindling against the log over the tinder, so that they'll be in the flames when the tinder is lit.
[00:03:30.62] You
(DESCRIPTION)
[00:03:30.62] He leans kindling sideways over the main log.
(SPEECH)
[00:03:30.95] can also lean some larger pieces of wood on top of those. Just make sure you don't collapse your lean-to or block airflow to the tinder. It'll look like a lean-to or a triangle.
[00:03:40.94] Once
(DESCRIPTION)
[00:03:40.94] He lights the tinder underneath with a match. Flames rise to catch the kindling and larger wood on fire.
(SPEECH)
[00:03:41.45] this lean-to structure is built, like the tinder, the flames will light the kindling, which will then light the larger pieces of wood. As
(DESCRIPTION)
[00:03:47.54] Text, add fuel as needed.
(SPEECH)
[00:03:47.87] the fire gets bigger and hotter, continue feeding it larger pieces of wood, leaning them on the fuel log, so that air can still flow through. Eventually, you'll work your way up to a hot core in large pieces of fuel wood that will burn for a long time.
[00:04:02.39] No
(DESCRIPTION)
[00:04:02.39] Never leave a fire unattended. Extinguish your fire completely. Nate pours water from a jug onto the ashes and touches them with his hand. He gives a thumbs up.
(SPEECH)
[00:04:02.75] matter what type of fire you build, never leave it unattended. When it's time to put it out, make sure you extinguish it completely by dousing it with water. And don't leave until the ashes are cold to the touch.
[00:04:14.57] Now that you know the three types of campfires and how to make them, you'll be able to start a campfire anywhere. Plus, you'll never have to go without s'mores.
(DESCRIPTION)
[00:04:22.42] Nate sits by the fire roasting a marshmallow on a stick over the flames.
(SPEECH)
[00:04:22.85] Like and subscribe to make sure you don't miss our next video. And visit llbean.com/outside for more outdoor tips and inspiration.
[00:04:30.14] [MUSIC PLAYING]
[00:04:31.94]
Before You Begin
CHECK RESTRICTIONS AND REGULATIONS.
Even campgrounds with designated fire rings can sometimes have restrictions in particularly dry weather. Regulations will also let you know if – and where – you’re allowed to buy or collect your firewood.
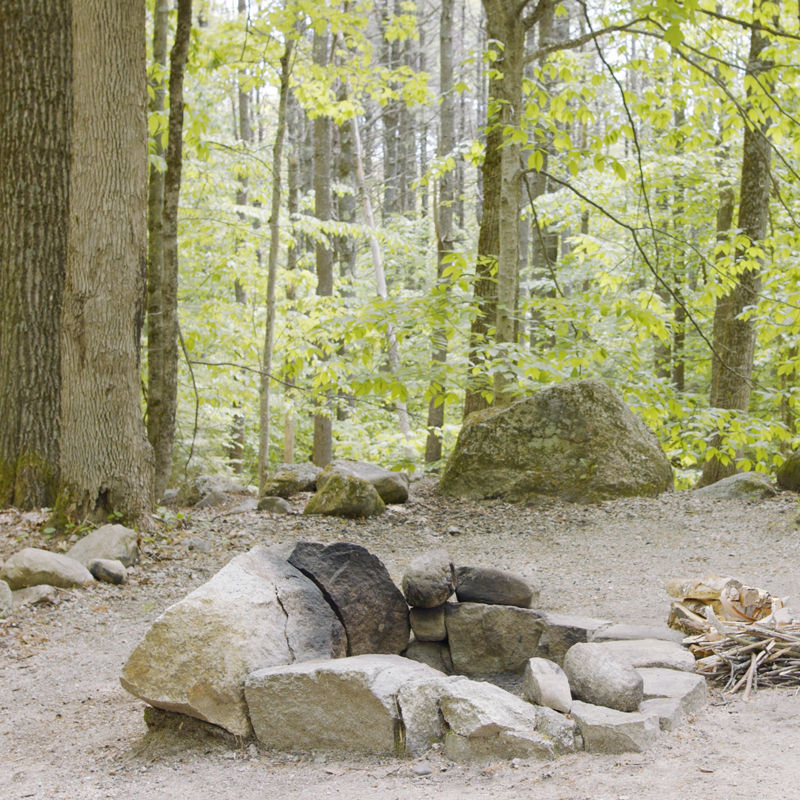
CLEAN AND CLEAR YOUR FIRE RING
Make sure your fire ring is clean, clear and nowhere near any brush, trees, or camping equipment.
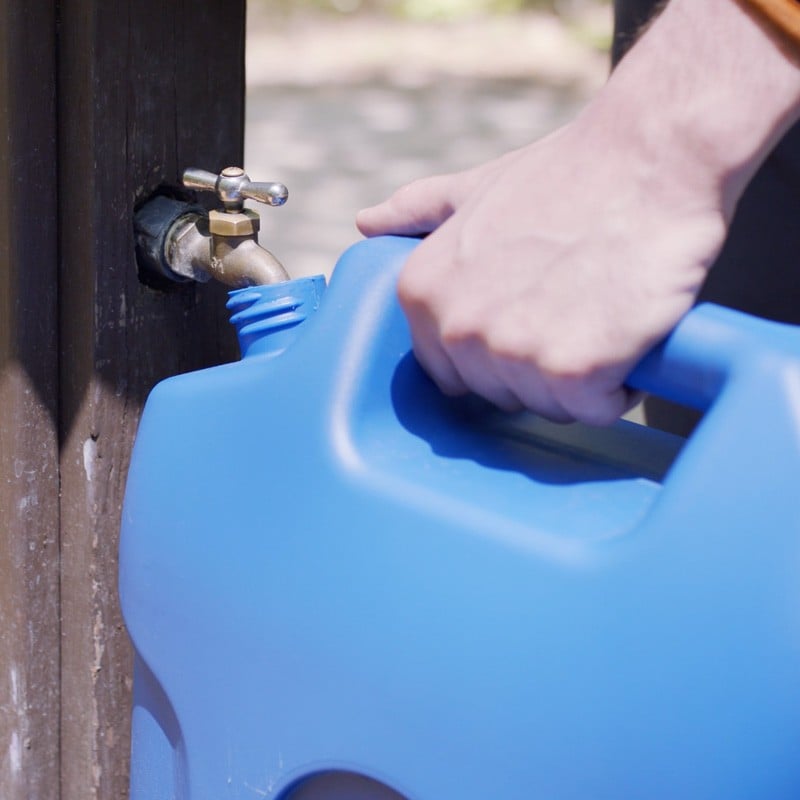
KEEP A BUCKET OF WATER NEARBY
Make sure your fire ring is clean, clear and nowhere near any brush, trees, or camping equipment.
What You'll Need: Campfire Materials
TINDER
The starting point for your fire – small, dry material that lights easily and burns hot. It could be small natural materials, like twigs, dry leaves and pine needles; or something you bring from home, like newspaper, dryer lint, commercial fire starters or cotton balls dipped in petroleum jelly.
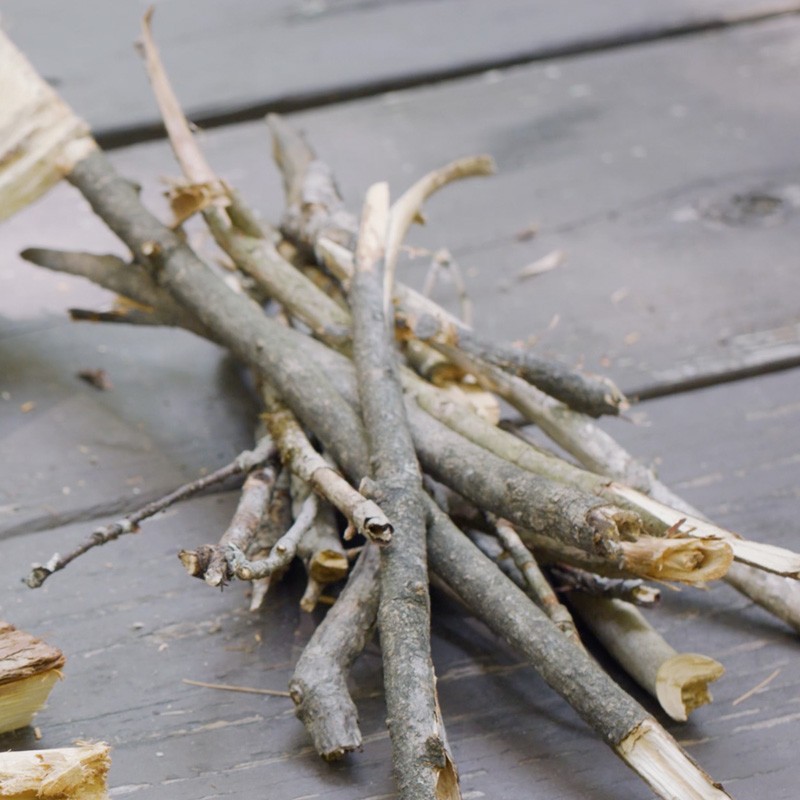
KINDLING
Consisting of small sticks and pieces of wood less than an inch around, kindling will burn longer than tinder, but still catch relatively easily. The tinder will light the kindling, and the kindling will then light the bigger logs.
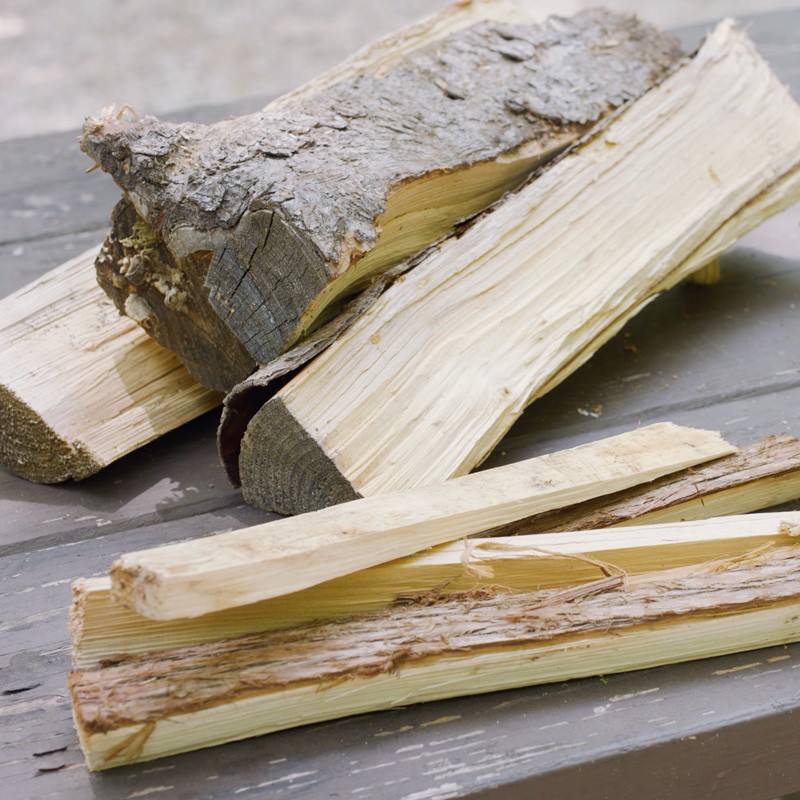
FUEL WOOD
Larger pieces of that will burn for a long time, providing your fire with a lot of energy once they’re aflame.
How to Build a Log Cabin Fire
GREAT FOR: A Long-Lasting, Low Maintenance Fire
The Log Cabin Fire is easy to build, burns for a long time, and doesn’t need much TLC to keep going strong.
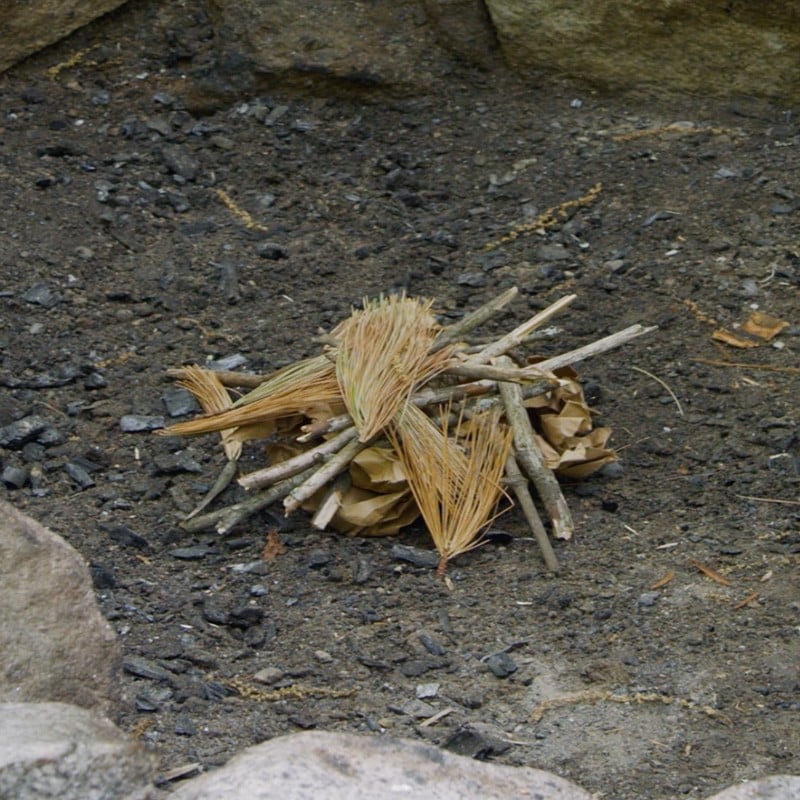
1. Start by placing a small pile of tinder in the center of your fire pit.
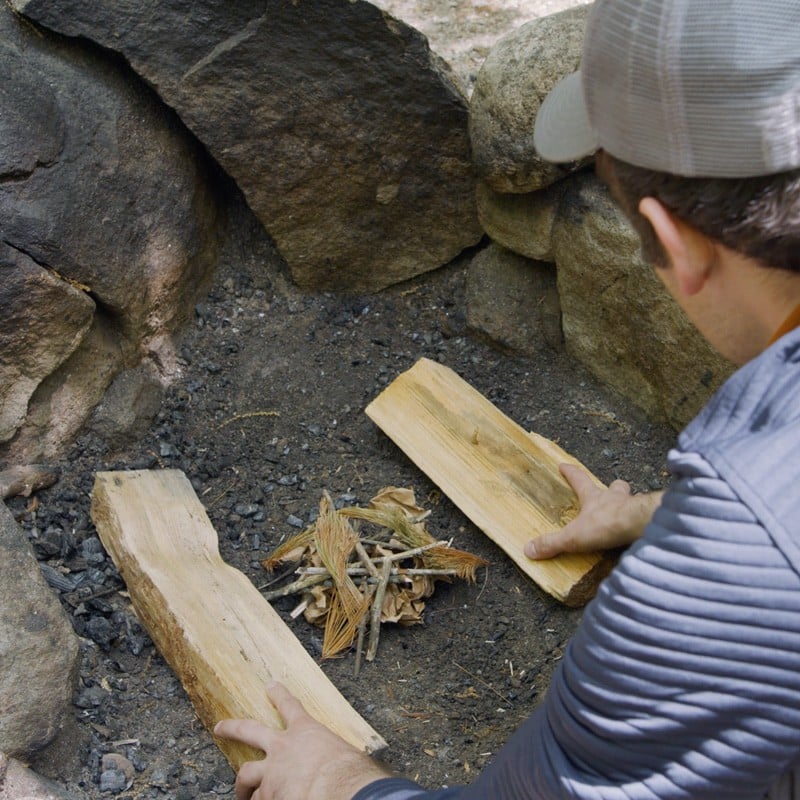
2. Then, place fuel logs on either side of your tinder.
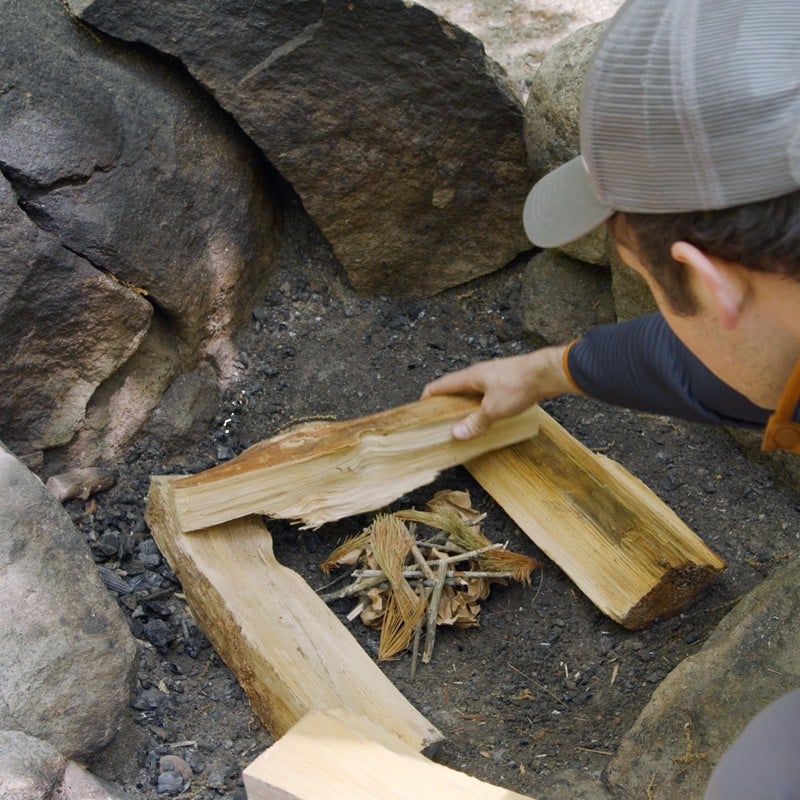
3. Place two more logs, crosswise, to create a square.
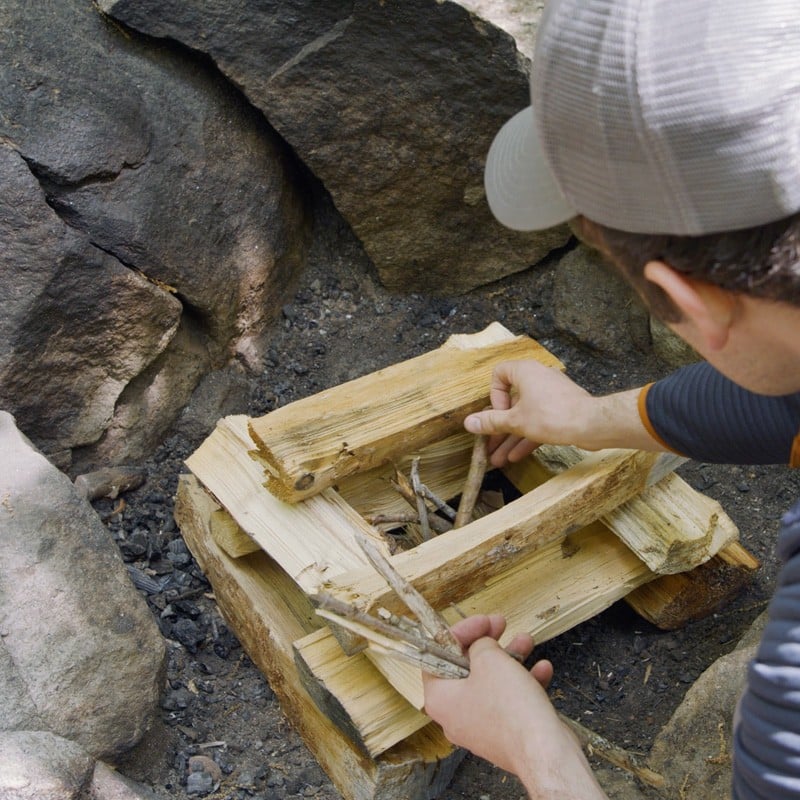
4. Add a couple more layers, using smaller pieces of wood and kindling - it will look like a log cabin.
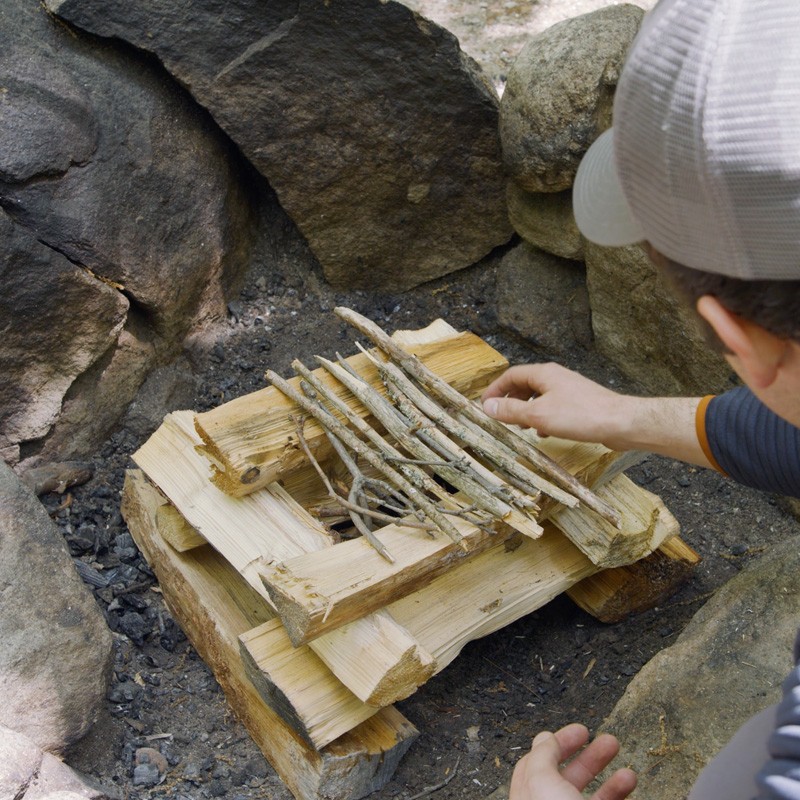
5. Finally, create a cone of small kindling over your tinder, and use some of your thinnest pieces of tinder to make a “roof.” Leave lots of space – the fire needs oxygen to burn.
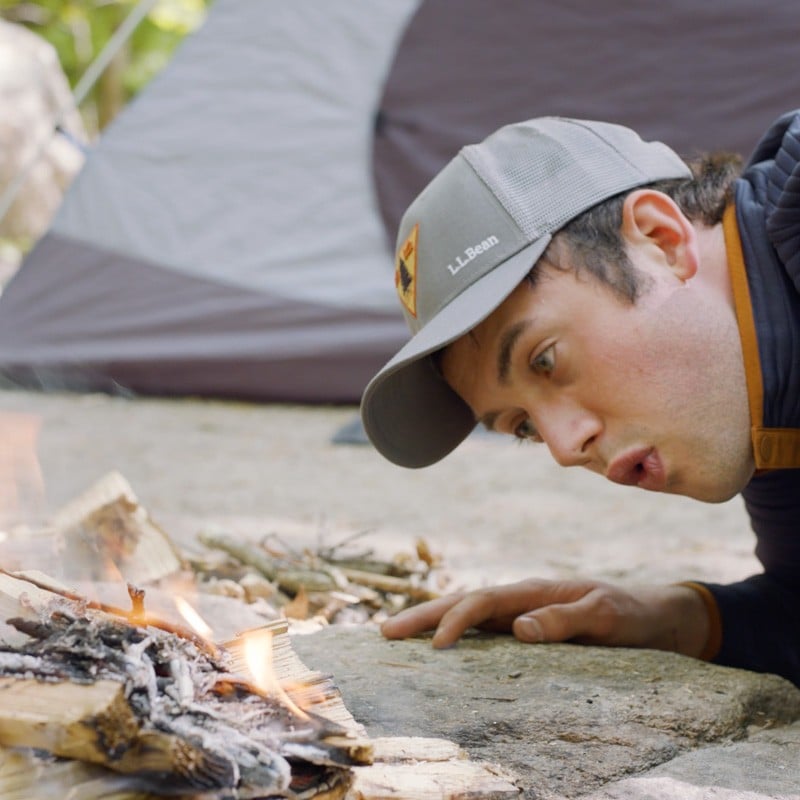
6. Light your tinder. You may need to blow lightly on the flame to feed it oxygen and get it burning hot.
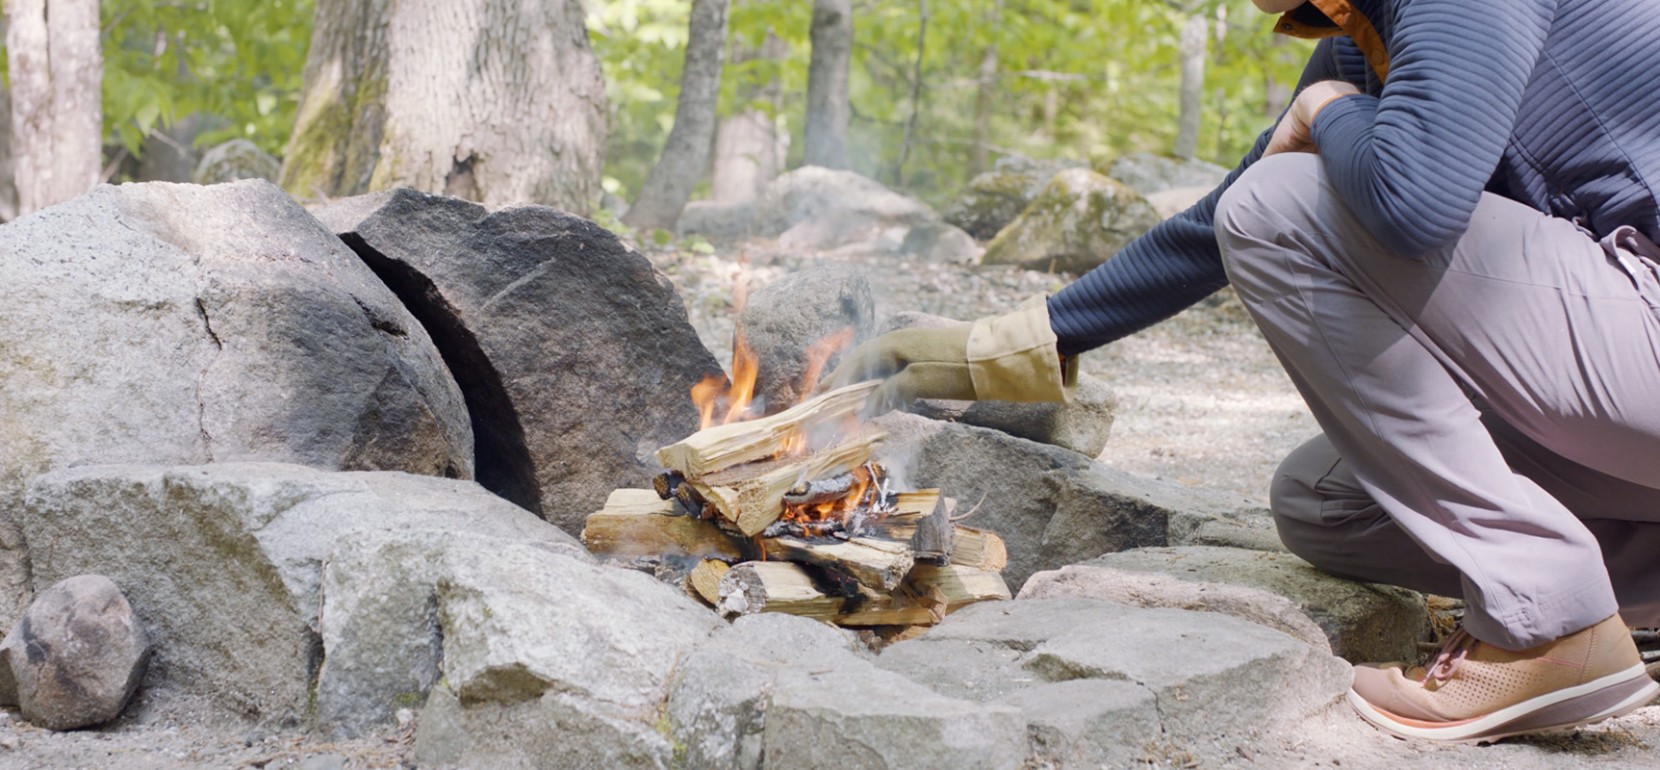
7. The flames should set the kindling cone and roof ablaze, giving your fire a hot core. Add kindling as needed to keep it burning bright, working your way up to pieces of fuel wood.
How to Build an Upside-Down (Pyramid) Fire
GREAT FOR: Cooking
The Upside-Down Fire gets its name from the fact that you start it from the top, not the bottom. It burns down instead of up, creating a really hot core and a relatively flat surface – great for even cooking.
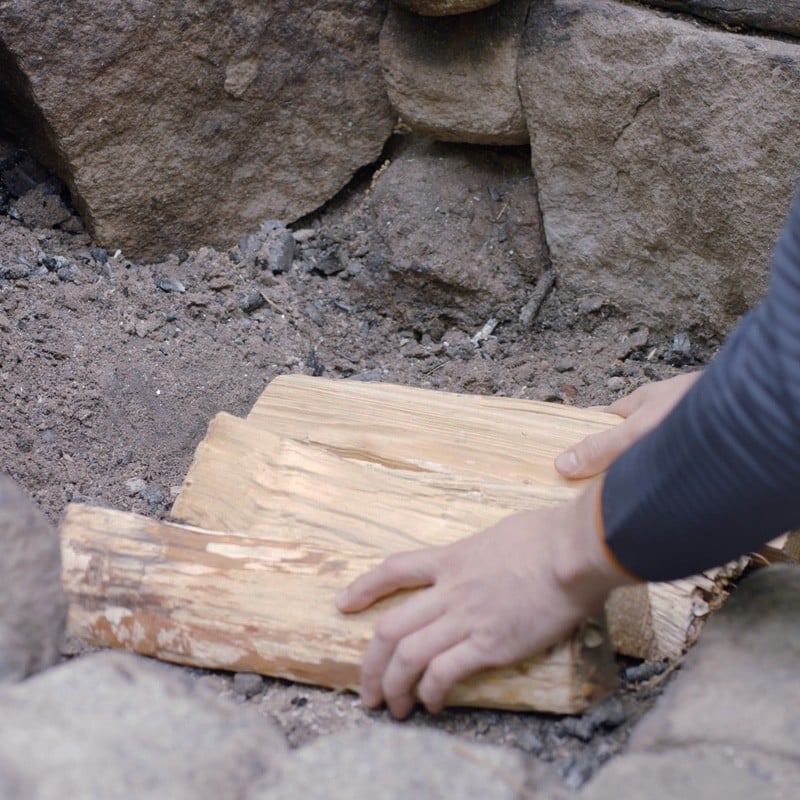
1. Start by laying three or four of your biggest fuel logs tightly together in the middle of the fire ring.
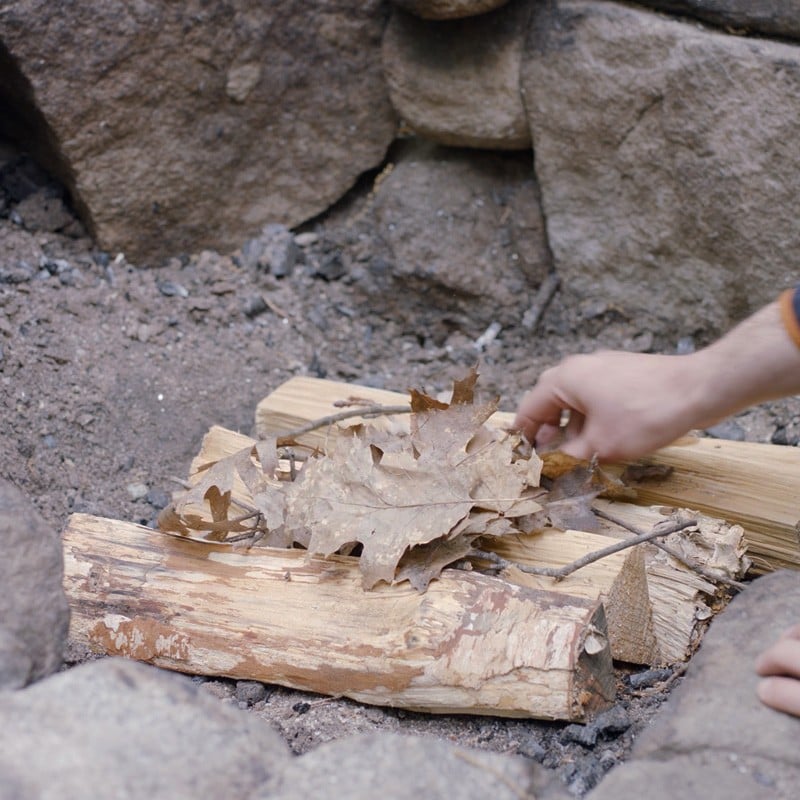
2. Add a small amount of tinder to fill the gaps between the logs.
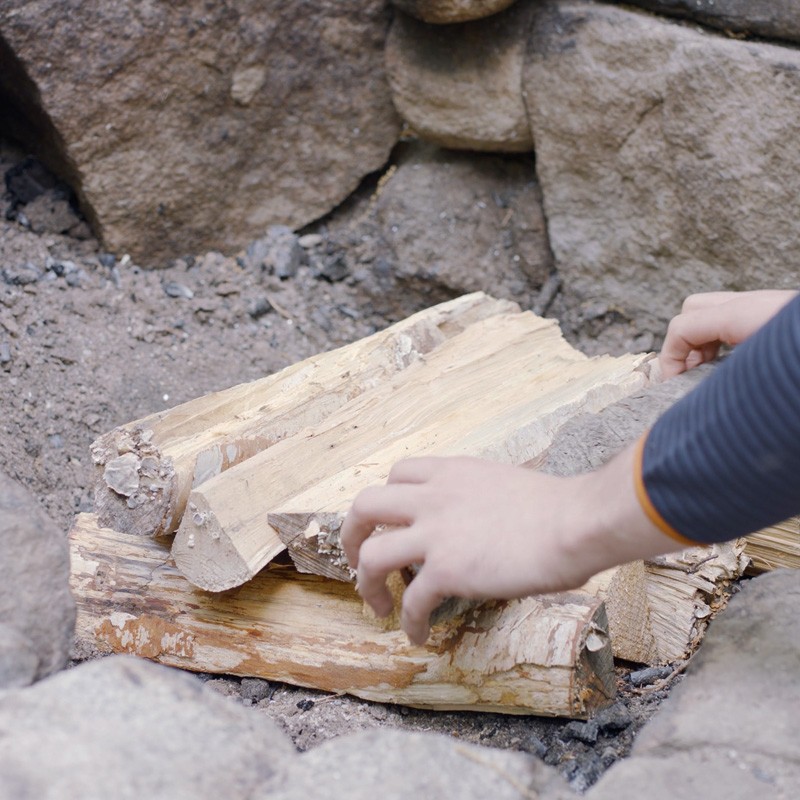
3. Next, build a second layer of fuel logs perpendicular to the first, using slightly smaller logs.
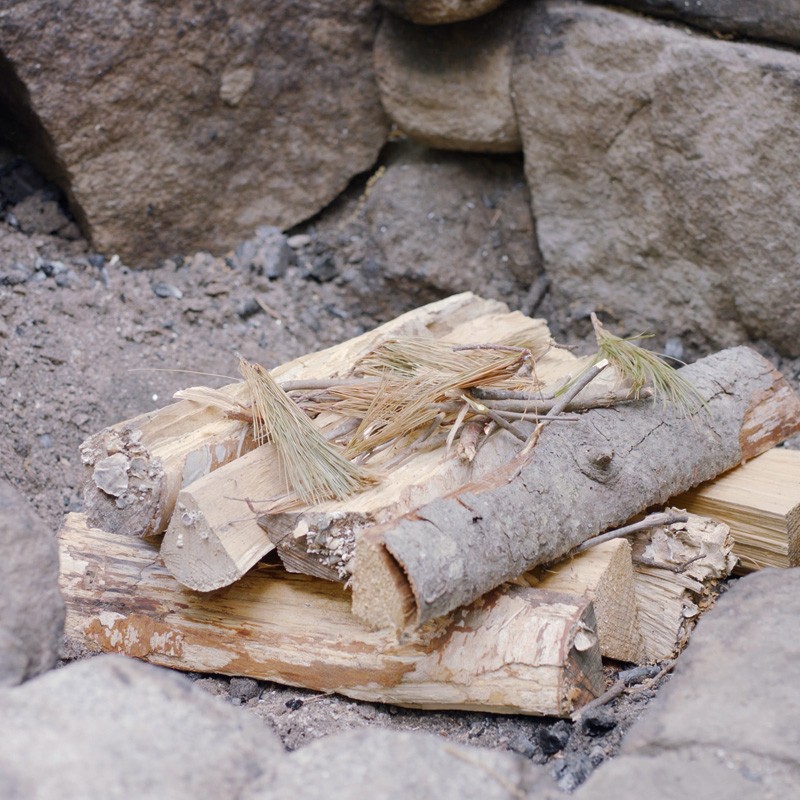
4. Again, add some tinder to the gaps.
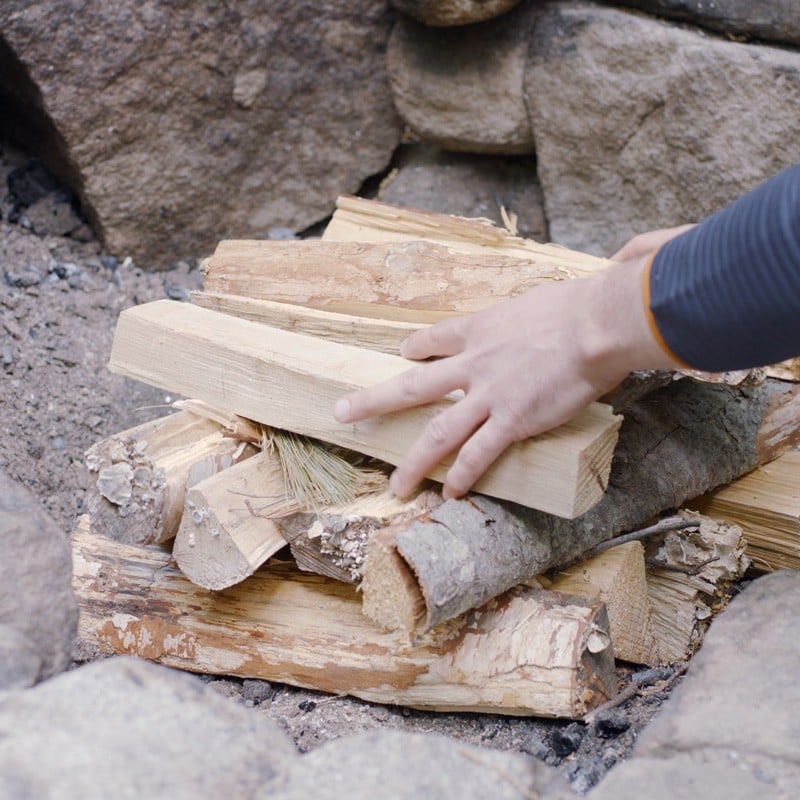
5. Add another layer of fuel logs, perpendicular again. You could keep going for a longer-burning fire, but three layers should give you plenty of fuel and provide you with a large enough platform to cook on.
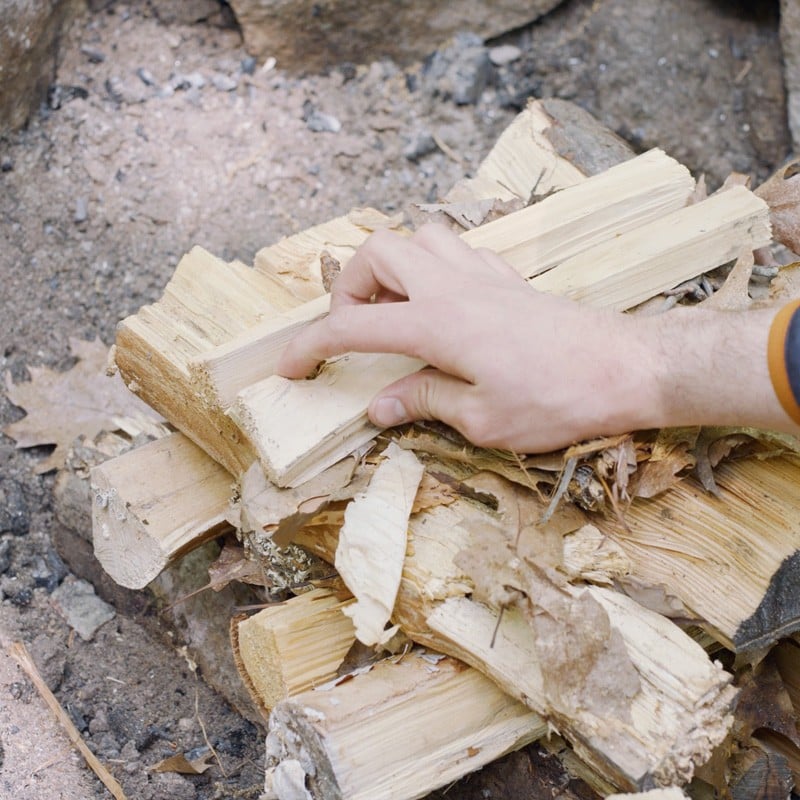
6. Add a small pile of tinder and kindling to the top layer. All together it’ll look kind of like a pyramid.
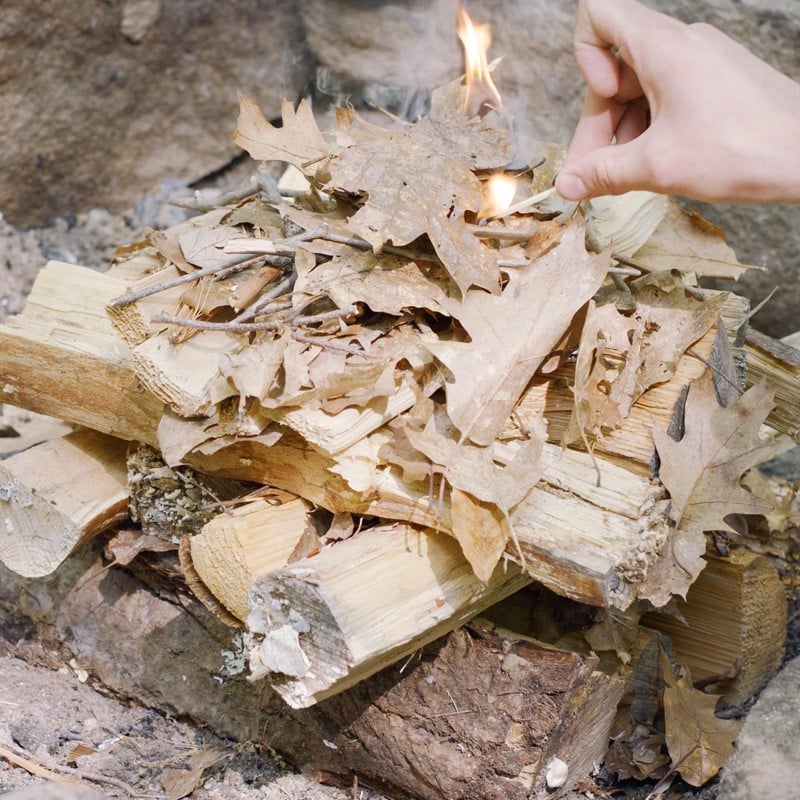
7. Light your tinder. You may need to blow lightly on the flame to feed it oxygen and get it burning hot. The tinder will light the kindling, and the kindling will then get hot enough to burn down into your fuel logs.
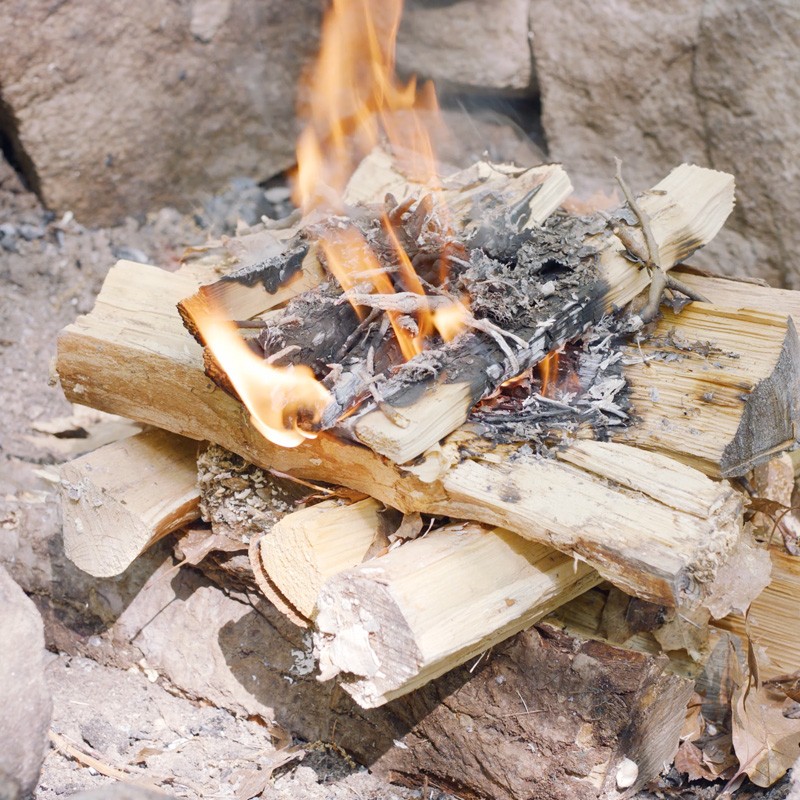
8. Add fuel as needed. A great thing about the upside-down fire is that your fuel logs are already placed –- the fire will burn for a long time before you need to add any fuel. If you want to keep the fire going after the core has burned down in the middle, simply add logs directly to the center of the fire.
How to Build a Lean-To Fire
GREAT FOR: Windy Conditions
The Lean-To Fire looks a little like a Log Cabin or Upside-Down Fire on its side. Leaning the tinder and kindling on a larger fuel log creates a wind-break, so you can get your fire burning before a breeze has a chance to blow it out. It’s also really simple and fast to build.
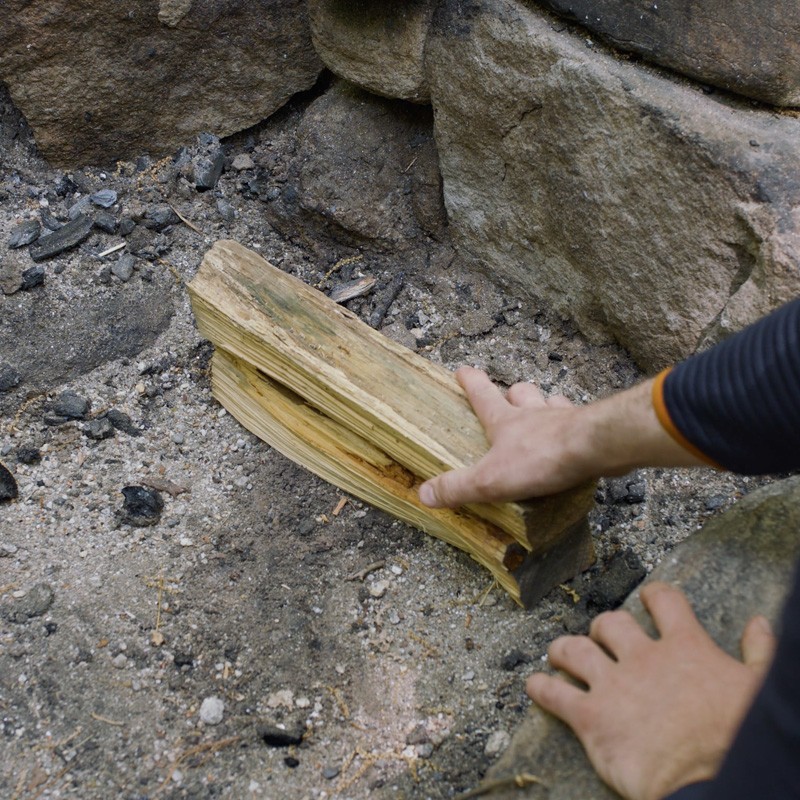
1. Start by laying your biggest fuel log in the fire ring. This is your wind break, so you’ll be building your fire on the leeward – away from the wind – side.
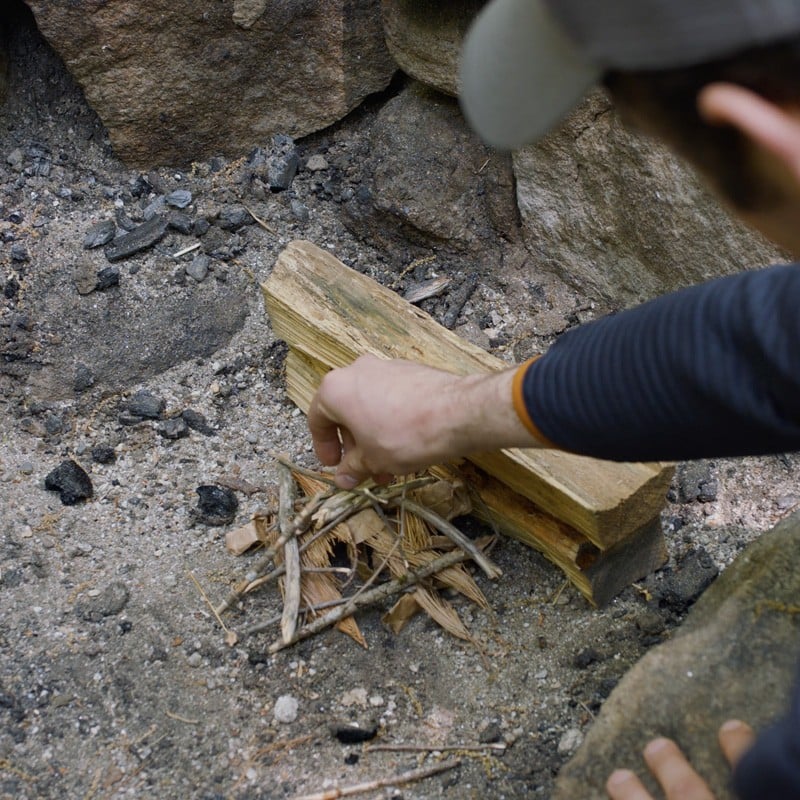
2. On the sheltered side of the log, lay a pile of tinder. This should be easy to reach with a match, since it’s where your fire will start.
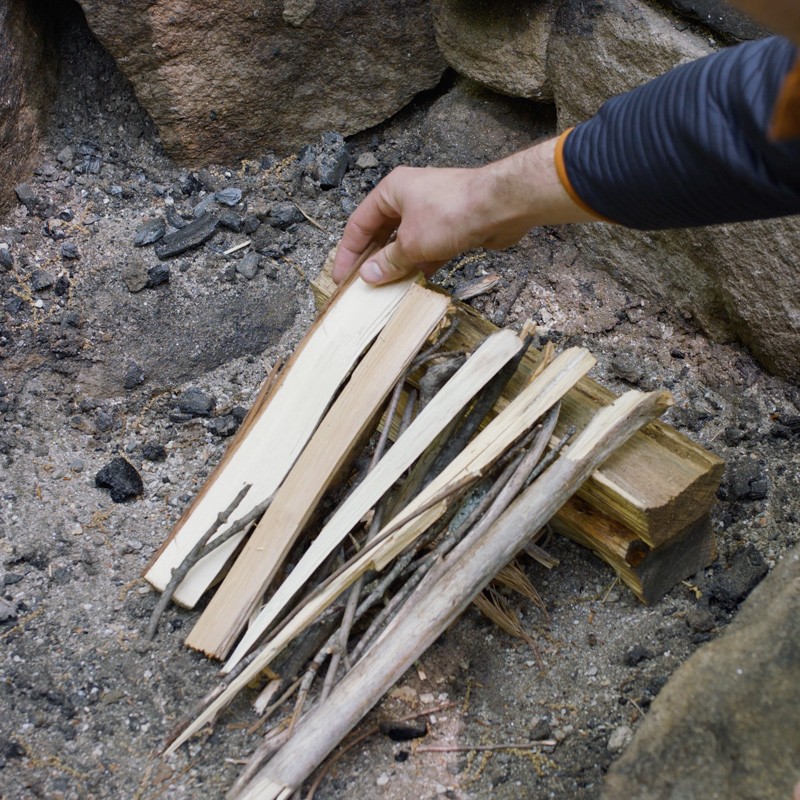
3. Lean pieces of kindling against the log, over the tinder, so that they’ll be in the flames when the tinder is lit. You can also lean some larger pieces of wood on top of those, just make sure you don’t collapse your lean-to or block airflow to the tinder. It’ll look like a lean-to, or a triangle.
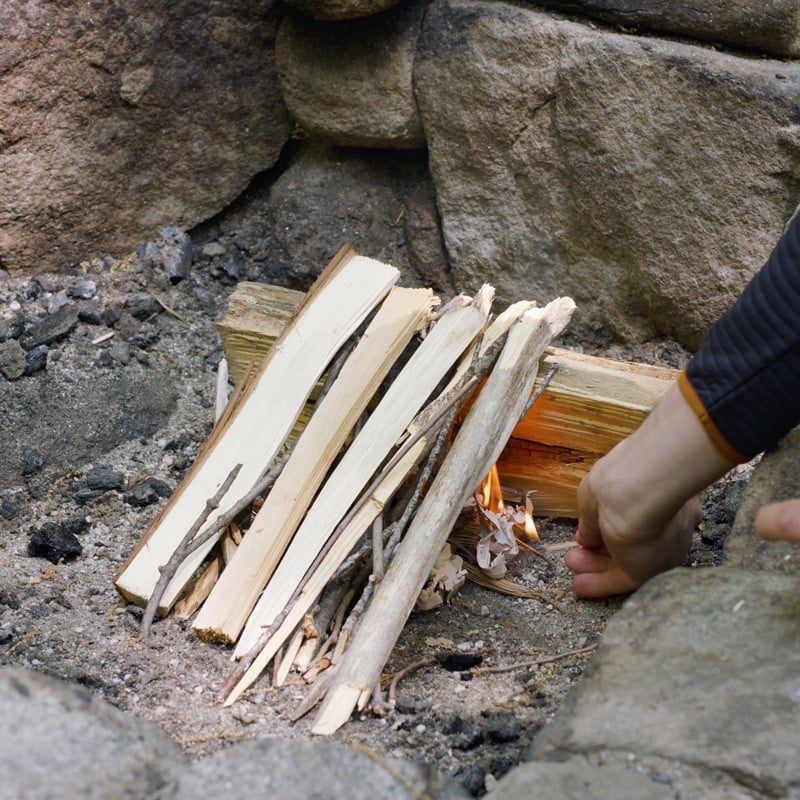
4. Once this lean-to structure is built, light the tinder. The flames will light the kindling, which will then light the larger pieces of wood.
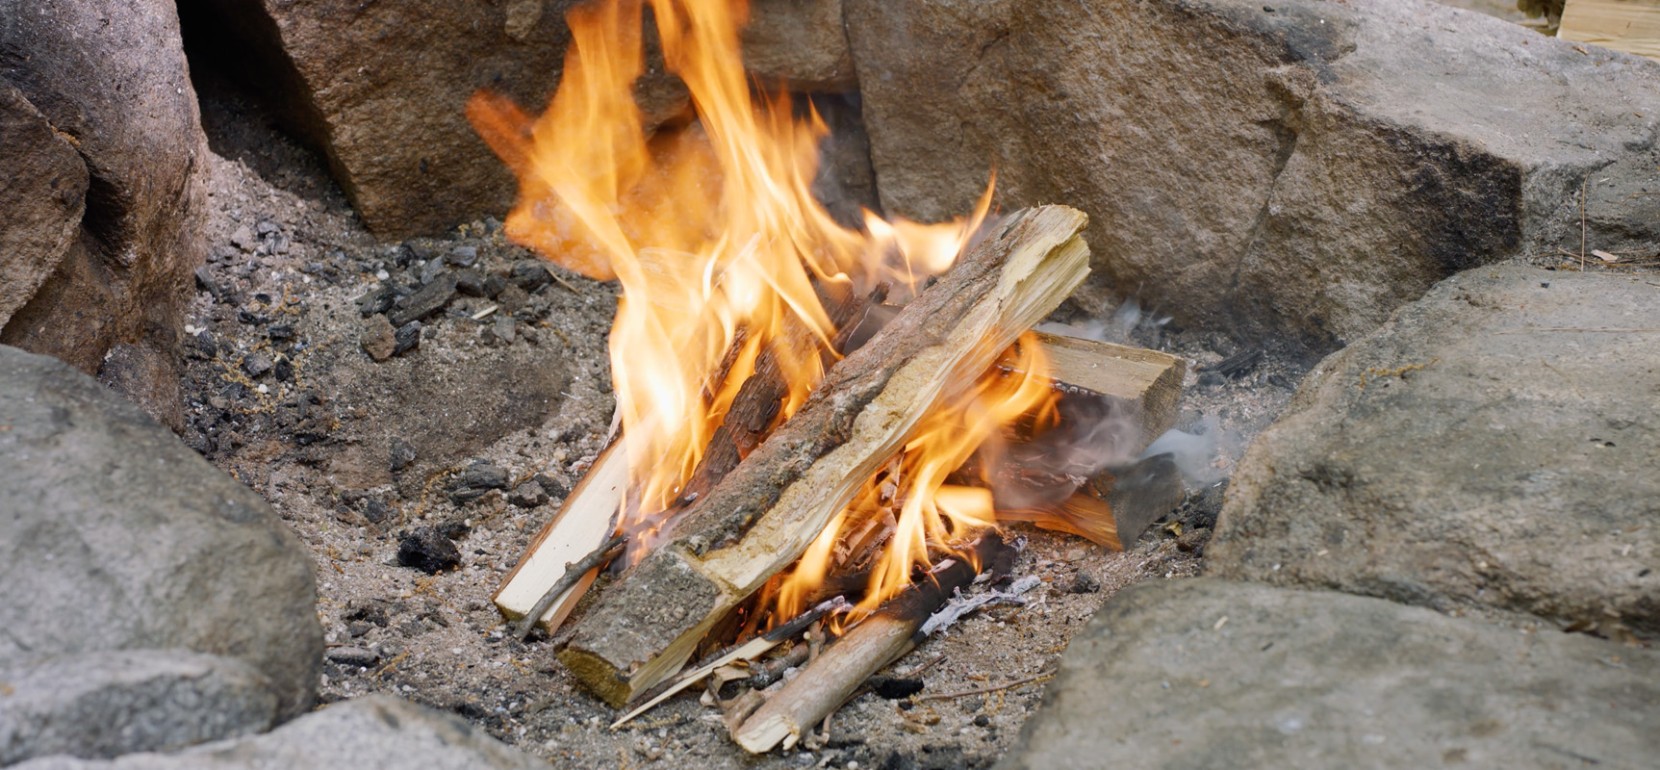
5. As the fire gets bigger and hotter, continue feeding it larger pieces of wood, leaning them on the fuel log so that air can still flow through. Eventually you’ll work your way up to a hot core and large pieces of fuel wood that will burn for a long time.
Extinguishing Your Fire
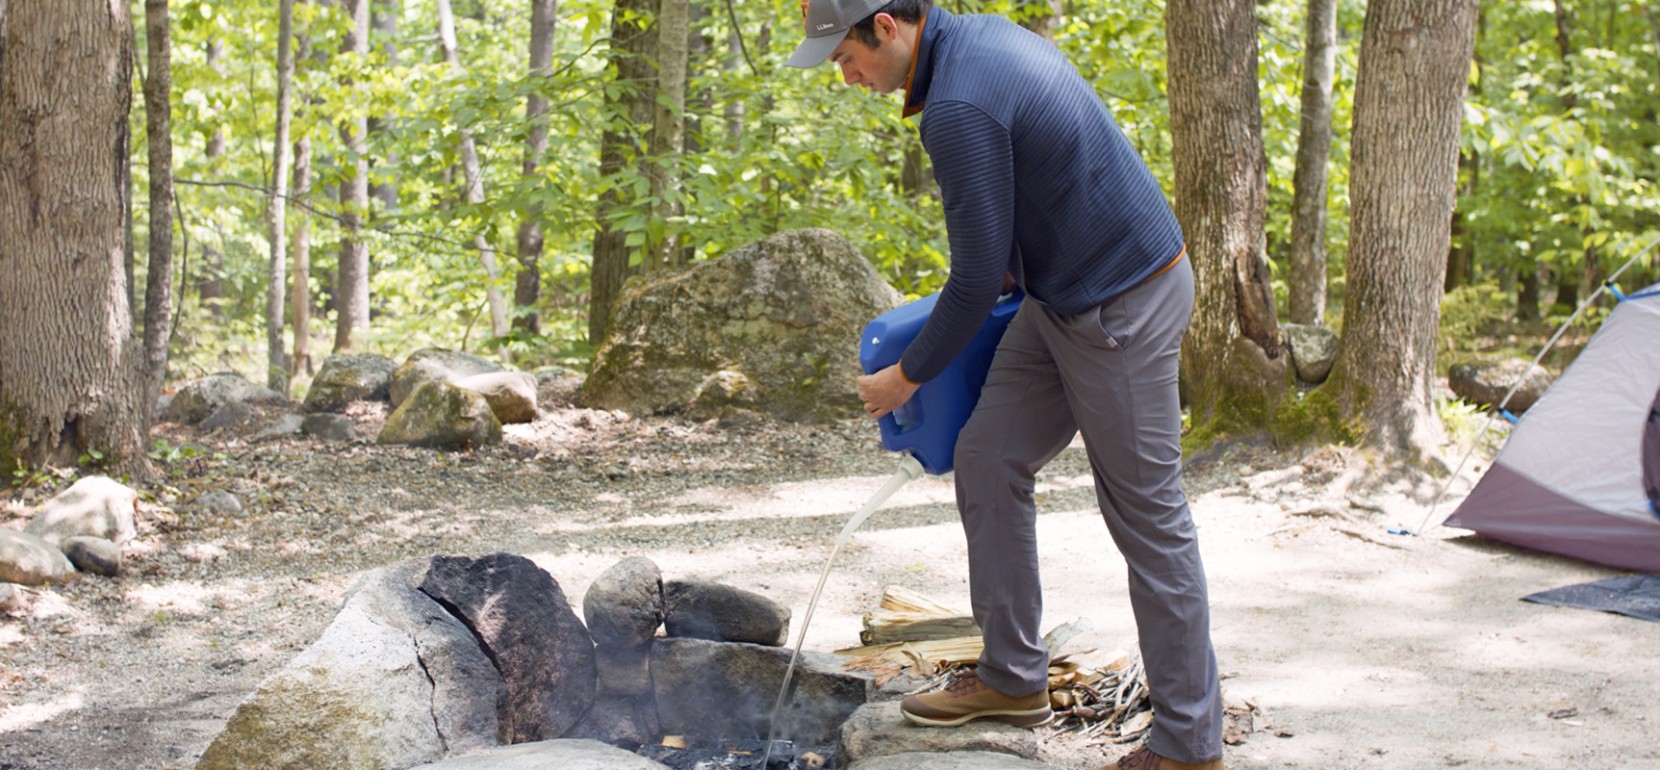
WAIT FOR YOUR FIRE TO BURN DOWN COMPLETELY
Allow your fire to burn down to the ashes, or douse it with water – being careful not to flood the fire ring.
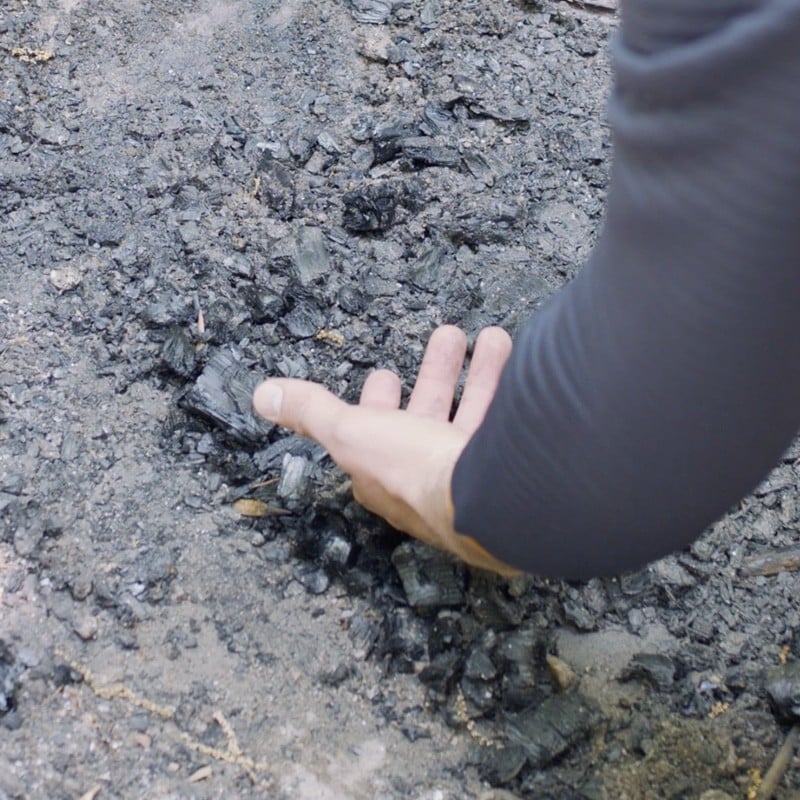
CHECK THE ASHES
Don’t leave your fire until the ashes are cool to the touch. If the ashes are still warm, that means there are still embers inside which could reignite.
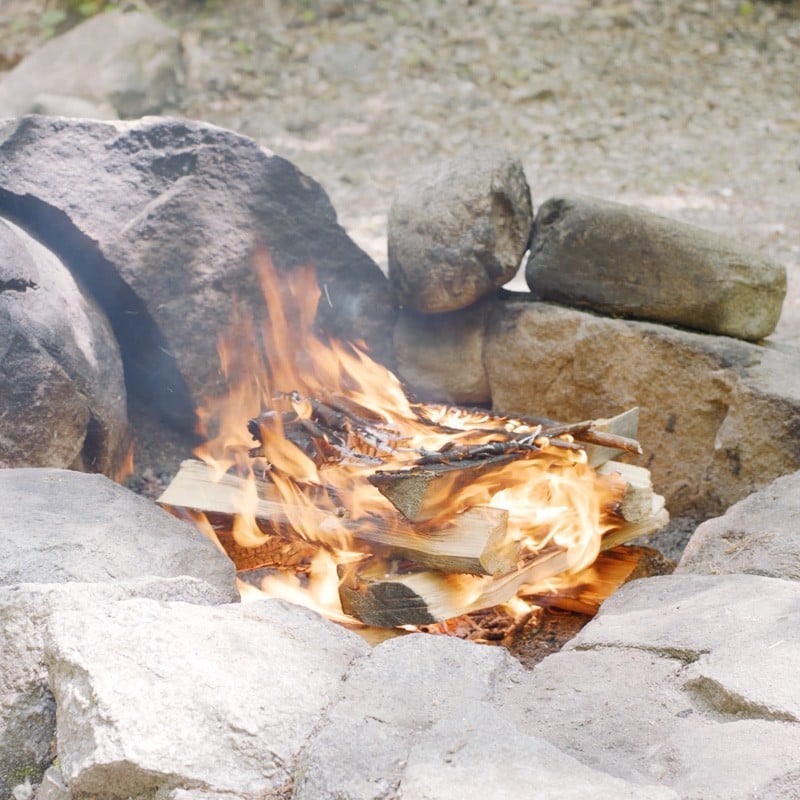
NEVER LEAVE A FIRE UNATTENDED
Whenever you make a fire, keep an eye on it the entire time it’s active. It doesn’t take long for fire to spread – better safe than sorry.


