(SPEECH)
[00:00:00.08] Hi. Ed here. I'm the associate store manager of the L.L.Bean Hunting and Fishing Store in Freeport, Maine. And I'm also a passionate angler, so I know a few things about knots. I'm going to show you three great knots for tying on a fly or lure that you should know.
[00:00:12.50] To show these knots, I'm going to tie them first in a thicker line so you can easily see the steps. Then I'll tie them in 12-pound monofilament. The improved clinch is the first knot a lot of people learn. It's easy to tie and relatively strong.
[00:00:25.35] Here are the steps. Run the line through the eye of the hook. The tag end is the end of the line you're working with. Wrap it around the standing line six or seven times. Pass the tag end through the loop formed at the eye of the hook. Pass the tag end through the large loop you've created. Moisten the knot with water or saliva. Pull the standing line and the tag end to tighten the knot. Now let's do that again with monofilament.
[00:00:57.92] Run the line through the eye of the hook. The tag end is the end of the line that you're working with. Wrap it around the standing line four or five times. Pass the tag end through the loop formed at the eye of the hook. Pass the tag end through the large loop you've created. Moisten the knot with water or saliva. Pull the standing line in the tag end to tighten the knot. Now trim the excess.
[00:01:33.72] [GUITAR MUSIC]
[00:01:36.97]
[00:01:38.36] The uni knot is a little harder to tie than the improved clinch but is a very strong knot. Here it is with a thick line. Thread 8 to 10 inches of line through the eye of the hook. Pinch the tag and standing line together. Form a loop with the tag end over the standing line and pinch them together with your fingers. Take the tag end and wrap it around both lines inside the loop four to five times.
[00:02:05.94] [GUITAR MUSIC]
[00:02:09.21]
[00:02:10.62] Pull the tag end to partially tighten the knot. Don't fully tighten yet. Release the tag end and pull on the main line to slide the knot down to the hook or swivel. Give the tag end one more pull and then tighten firmly by pulling on the main line.
[00:02:27.70] And now let's do this with monofilament. Thread 8 to 10 inches of line through the eye of the hook. Pinch the tag and standing line together. Form a loop with the tag end over the standing line and pinch them together with your fingers. Take the tag end and wrap it around both lines inside the loop six to eight times. For heavier line, use six wraps. Seven or eight wraps is best for lighter lines.
[00:02:55.44] Pull the tag end to partially tighten the knot. Don't fully tighten yet. Release the tag end and pull on the main line to slide the knot down to the hook or swivel. Give the tag end one more pull and then tighten firmly by pulling on the main line. Trim the tag end.
[00:03:16.86] The non-slip loop knot-- it's a great knot for streamers or saltwater fishing, as the loop allows the fly or lure to move more freely and deliver a more realistic motion. Take a look at how it's tied with our thicker line.
[00:03:30.69] Make an overhand knot, leaving about 3 to 4 inches of tag end. Pass the tag end through the eye of the hook. Bring the tag end back through the overhand knot the same way it came out. Wrap the tag end around the standing line four to six times. For lines less than 8 pound, do seven wraps. For 8 to 12 pound, do five wraps. For 15 to 40, do four wraps.
[00:03:57.51] Pass the tag end back through the overhand knot again, the same way it came out. Pull the tag end to partially tighten it. Adjust the size of the loop, then complete tightening by pulling the standing line.
[00:04:10.75] Now let's do that again with monofilament. Make an overhand knot, leaving about 3 to 4 inches of tag end. Pass the tag end through the eye of the hook. Bring the tag end back through the overhand knot the same way it came out.
[00:04:29.34] [GUITAR MUSIC]
[00:04:32.49]
[00:04:33.43] Wrap the tag end around the standing line four to six times. Pass the tag end back through the overhand knot again, the same way it came out. Pull the tag end to partially tighten it. Adjust the size of the loop, then complete tightening by pulling the standing line. Trim the tag end. Now just spend a little time practicing these knots so when you get out on the water, you can tie them in as little as 10 seconds.
[00:05:02.09] Tell us what kind of fish you like to go after in the comments below. Also, let us know what kind of videos you'd like to see more of. And don't forget to like and subscribe so you don't miss out on our next video. For more fishing tips and inspiration, visit Explore L.L.Bean at llbean.com/explore.
[00:05:19.57]
Knot 1: The Improved Clinch Knot
Also called the Fisherman's Knot, the Improved Clinch is the first knot a lot of people learn. It's easy to tie and relatively strong.

STEP 1:
Run the line through the eye of your hook.

STEP 2:
The tag end is the end of the line you're working with. Wrap it around the standing line six to seven times.

STEP 3:
Pass the tag end through the loop formed at the eye of the hook.

STEP 4:
Pass the tag end through the large loop you just created.

STEP 5:
Moisten the knot with water or saliva.

STEP 6:
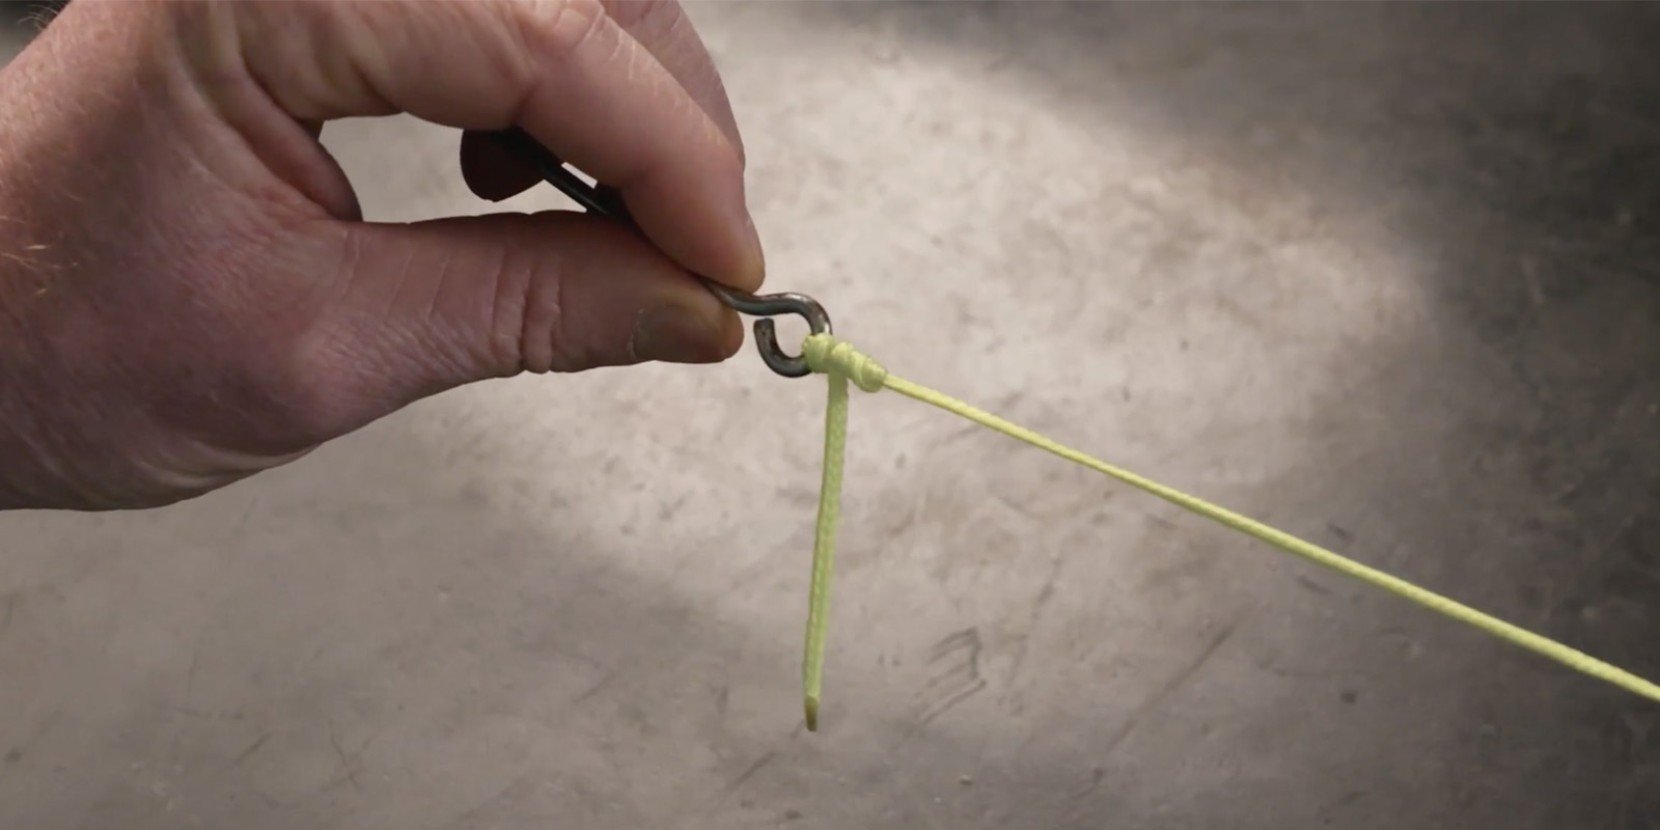
Pull the standing line and the tag end to tighten the knot. Trim the excess.
Knot 2: The Uni Knot
The Uni Knot is a little harder to tie than the improved clinch, but it is a very strong knot that's worth knowing. It was designed by legendary Florida Keys angler Norman Duncan and is also known as the Duncan Loop.

STEP 1:
Thread 8 to 10 inches of line through the hook eye, pinch the tag and standing line together.

STEP 2:
Form a loop with the tag end over the standing line and pinch them together with your fingers.

STEP 3:
Take the tag end and wrap it around both lines inside the loop 4 to 5 times.

STEP 4:
Lubricate the line with water or saliva and pull the tag end to partially tighten the knot. Don't fully tighten yet.

STEP 5:
Release the tag end and pull on the main line to slide the knot down to the hook or swivel.

STEP 6:
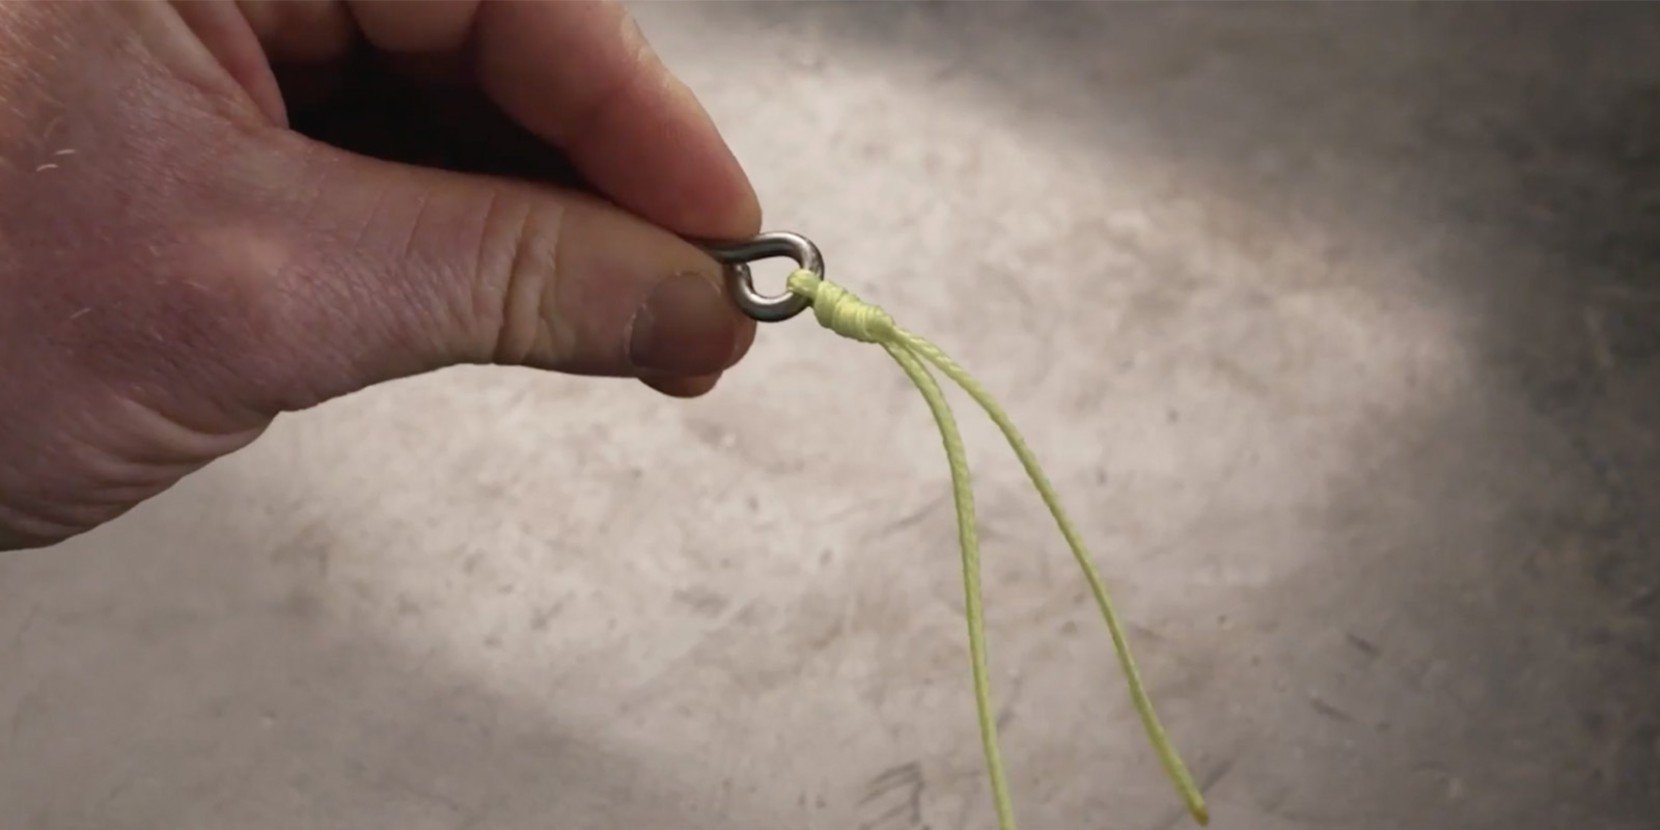
Give the tag end one more pull and then tighten firmly by pulling on the main line. Trim the excess.
Knot 3: The Non-Slip Loop Knot
The Non-Slip Loop Knot was developed by fly fishing legend Lefty Kreh. He found it to be almost as strong as the line itself. It's great for streamers or saltwater as it allows the fly or lure to deliver a more realistic motion.

STEP 1:
Make an overhand knot, leaving about 3 to 4 inches of tag end.

STEP 2:
Pass the tag end through the eye of the hook.

STEP 3:
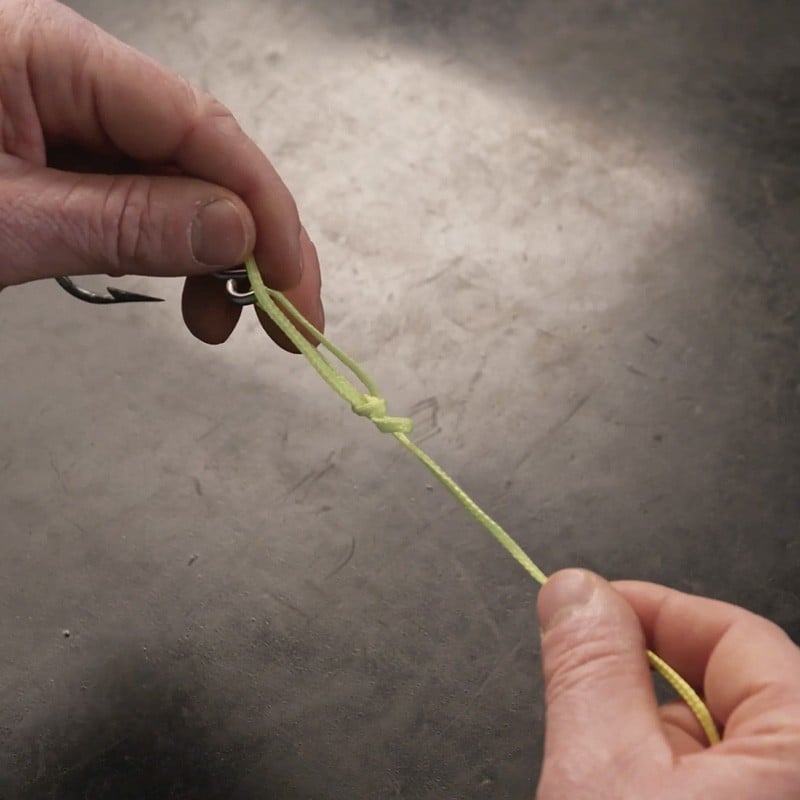
Bring the tag end back through the overhand knot the same way it came out.

STEP 4:
Wrap the tag end around the standing line 4 to 6 times. For lines less than 8.lb., do 7 wraps, for 8 to 12 lb. do 5 wraps, for 15 to 40 lb. do 4 wraps.

STEP 5:
Pass the tag end back through the overhand knot, again the same way it came out.

STEP 6:
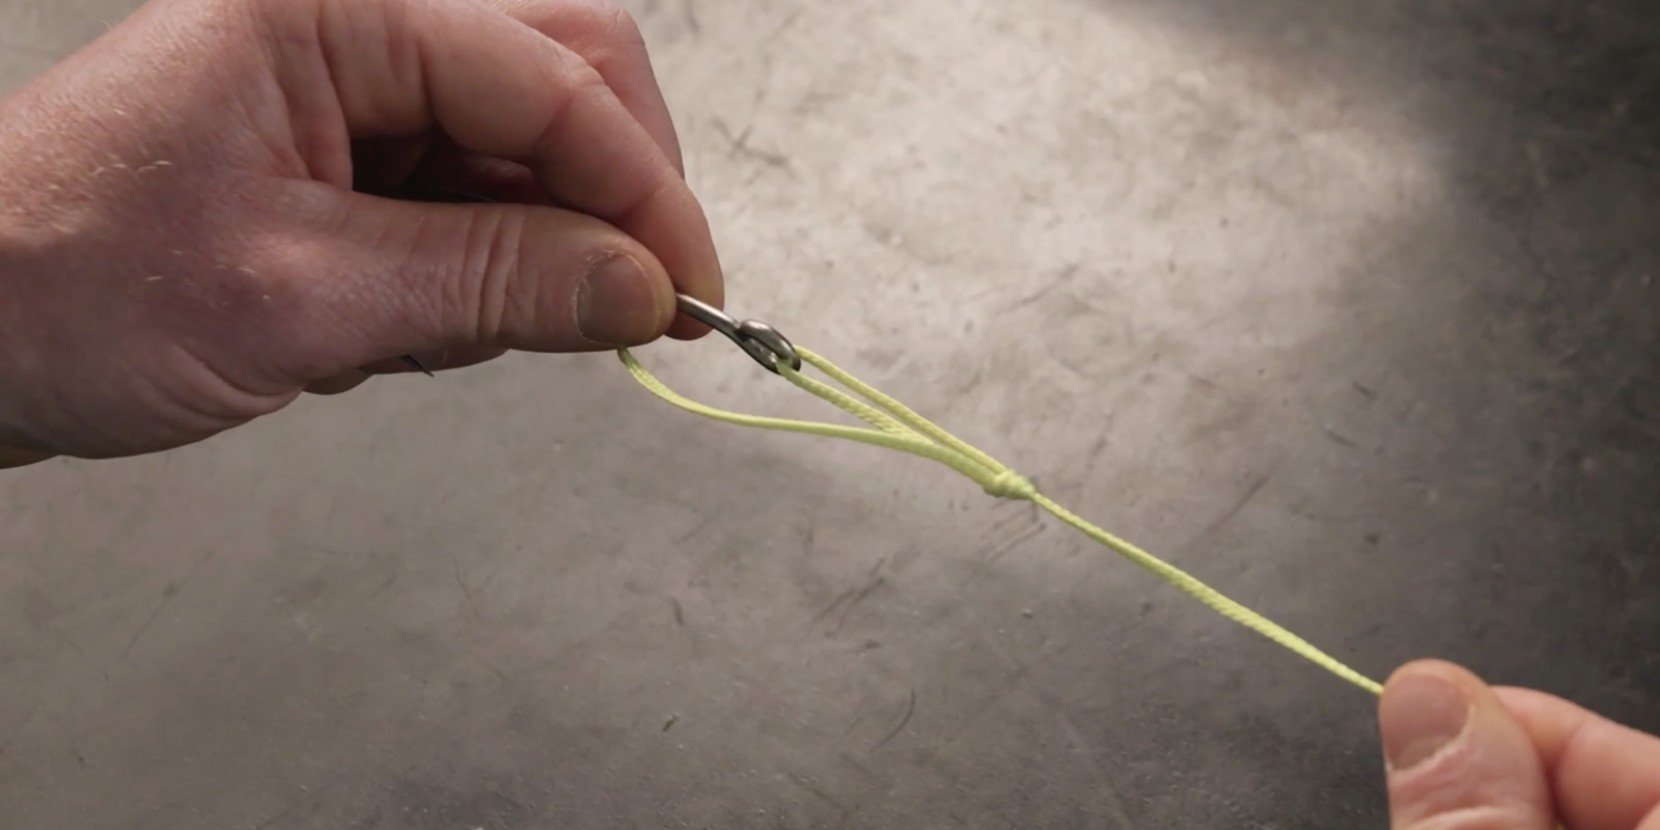
Moisten the knot and pull the tag end to partially tighten it.
STEP 7:
Adjust the size of the loop, then complete tightening by pulling the standing line.
STEP 8:
Trim the tag end.
Now go hit the water and catch some fish! Get outfitted with everything you need for your next fishing adventure.